The Only Guide for Affordable Handyman Mooresville
Table of ContentsThe Buzz on Mooresville Handyman ServicesSome Ideas on Affordable Handyman Mooresville You Should KnowThe Single Strategy To Use For Handyman In MooresvilleFascination About Affordable Handyman MooresvilleA Biased View of Handyman Services MooresvilleThe Greatest Guide To Mooresville Handyman ServicesExamine This Report about Affordable Handyman MooresvilleTop Guidelines Of Best Handyman Mooresville
Studfinders the device that spawned a thousand easy jokes aren't expensive, but why depend on a gadget when you can discover the stud on your own? Studs are the vertical light beams that sustain wall surfaces, and also they provide assistance when mounting designs, TV screens or to secure heavy furniture. There must be a stud on either side of each home window, along with close to electric boxes for buttons as well as electrical outlets.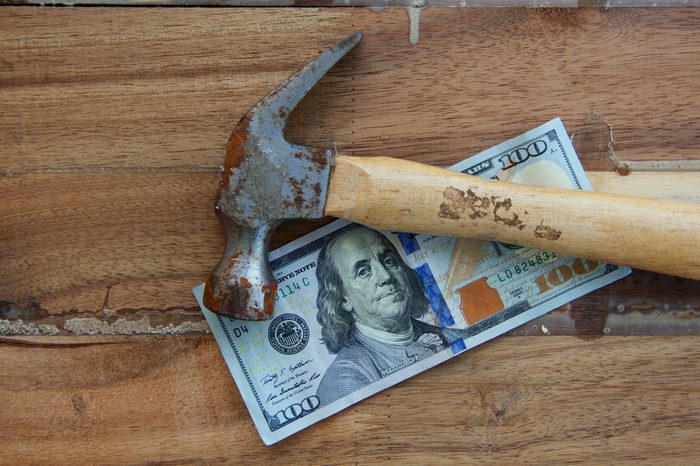
Some Ideas on Handyman Services Mooresville You Need To Know
Make use of a pencil to note the drill openings on both the wall and the rack; hammer or pierce a pilot opening in the marked places; after that screw the L-bracket to the side or bottom of the rack as well as to the wall. For a bookcase with a back, initial measure the situation, minus its structure (so, the width of the instance's shelves), after that reduced a 1x6 item of lumber to match. Handyman In Mooresville.
Mark their locations on the piece of lumber you cut, then position the lumber and also drill a second collection of pilot openings to make sure that the openings in the lumber associate those in the wall surfaces. Screw the board to the wall surface with screws long sufficient to pass with the board and also drywall and also into the wall stud.
Rumored Buzz on Mooresville Handyman
Absolutely nothing mars your man-cave even more than the unattractive openings as well as bumps that result from relocating or removing your wall art. To keep your pad looking excellent, obtain in the habit of maintaining spackle, a putty blade and also repaint about. Initially, clean up any kind of loose little bits or anything that stands out from the hole you wish to repair.
An Unbiased View of Handyman Mooresville
Tidy the area underneath with alcohol, then scratch it tidy with the putty blade to get all of the old adhesive off. Apply a brand-new coating of floor tile adhesive to both the void and also to the rear of the floor tile and meticulously replace the ceramic tile. Utilize a rolling pin to push the floor tile into place and also obtain rid of any air bubbles, after that wipe clean any excess adhesive on or around the ceramic tile.

This set's virtually enjoyable. If you see that there's a little bit of leak around your sink, shower or bathtub, it could be time to change the caulking that line of putty or gel at the joint where the container meets the wall surface or flooring. Caulking loses my website efficiency with time, so you need to reseal it yearly.
The 2-Minute Rule for Mooresville Handyman Services
This ought to let you identify the stem, which you can additionally eliminate, after that look for damage. Do the same with the O-ring and washer, as one of these 3 components is most likely the wrongdoer. Change any kind of broken parts, after that reassemble the faucet in the exact same order washing machine as well as O-ring, stem, packing nut, screw, manage turn the water back on, and test the water.
The Buzz on Handyman In Mooresville
Keep rotating the serpent up until the resistance passes, after that draw it out whatever's connecting up the sink will likely come out with it. Run water to make certain that the blockage has passed. If it's still obstructed, then the problem likely runs deeper. Under your sink, eliminate the straight pipeline that connects the catch to the stub pipe in the wall, either by hand or making use of a pipeline wrench.
Wait an excellent one to 2 days before strolling or driving index on the crack as soon as you've repaired it, to make certain that it's totally set. 10. Adjustment a shower head To get rid of the old shower head, turn a wrench counter-clockwise to loosen its notch, then screw off the old head with your hands.
How Best Handyman Mooresville can Save You Time, Stress, and Money.
Wrap completion of the stem pipe with a few layers of Teflon tape, then utilize your fingers to smooth the tape. Mount the replacement head, tightening it onto the pipeline clockwise by hand. Turn the shower on to check for leaks if it's still spouting, tighten the new shower head with a wrench, being cautious to continue slowly to protect against over-tightening (Handyman In Mooresville).
Clean the seamless gutters Despite the environment you reside in, clearing out the gutters is part as well as parcel of living in a home, instead of an home or apartment and not doing it will offer you a larger migraine in the lengthy run. If your rain gutters are more than one story, after that it could be time to hire a pro.
Some Ideas on Mooresville Handyman Services You Need To Know
Initially, get up on a ladder, making certain it's steady. You can utilize a stand-off, or ladder stabilizer, to stay clear of harming the rain gutters go to this site or home siding. Make use of a trowel to dig out dead leaves and other particles that's gathered in the rain gutters, gathering it in a container or garbage bag.
Holding the nut, loosen the 2 seat bolts and raise off the old bathroom seat. Area the brand-new seat, aligning its support screws with the 2 openings in the toilet base. Press the bolts with the openings, then screw on the nuts from the underside by hand. Ensure that the seat is centered, after that finish tightening the 2 nuts with a wrench.